SHOWER SCREENBUYING GUIDE
Follow our 4-step process to choose the right shower screen for your bathroom.
1
FLOOR TYPE
2
MEASURE
3
SCREEN STYLE
4
COMPARE

STEP 1
CHOOSE YOUR SHOWER FLOOR TYPE
Your floor type determines which shower screen styles are most suitable for your installation.

SHOWER BASE
The base is installed into the wall studs and only the walls are tiled.
- More cost-effective
- Faster to install
RECOMMENDED
NOT RECOMMENDED

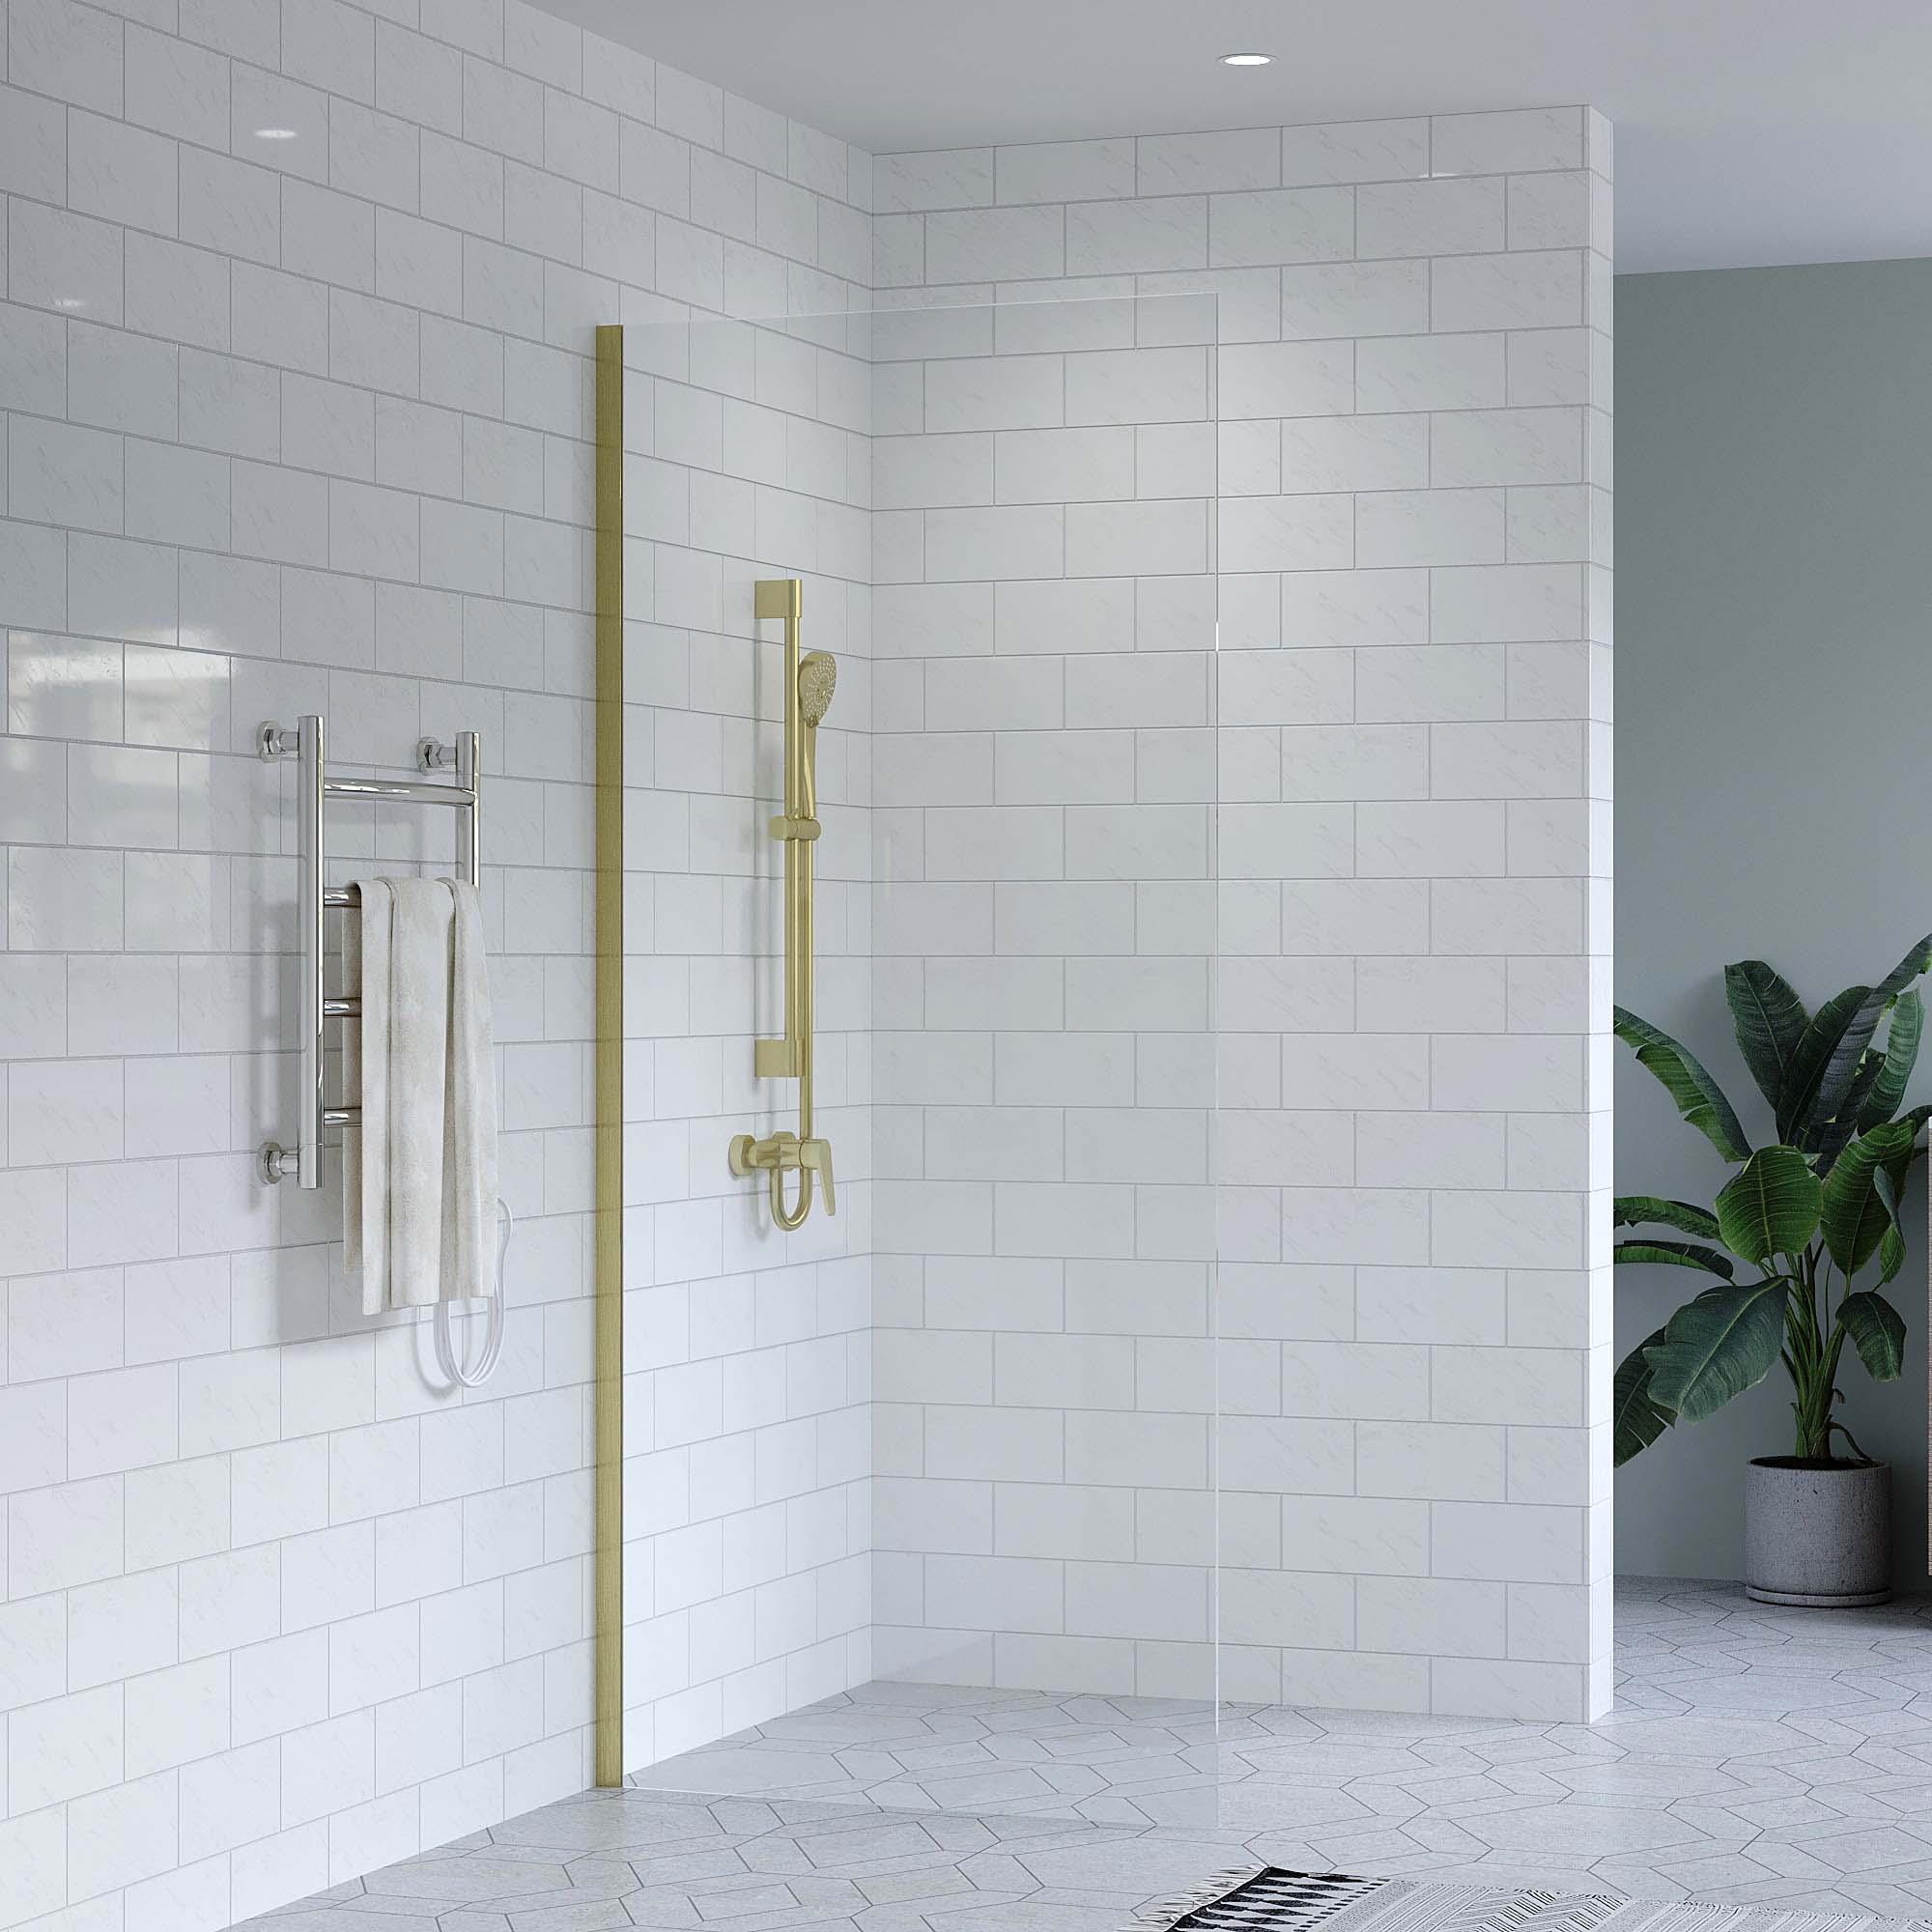
TILED FLOOR
The screen sits directly on the tiled floor for a seamless and premium look.
- Greater design flexibility
- More tile and texture options
SUITABLE FOR
STEP 2
MEASURE CORRECTLY
Accurate measurements ensure a perfect fit and prevent installation issues.
1. MEASURE YOUR OPENING
Measure at the top, middle and bottom of the opening. The smallest value will be your opening width.
Top (A)mm
Middle (B)mm
Bottom (C)mm
Opening WidthSmallest Valuemm
2. CHECK WALL PLUMB
Subtract the smallest measurement from the largest to find your wall plumb tolerance.
Plumb Range (Max − Min)mm
3. PLUMB RANGE GUIDE
0 – 3mm
Walls are plumb or very close to plumb. Wall brackets or clips can be used.
3 – 10mm
Walls are slightly out of plumb. U-channel fixing is generally recommended.
Over 10mm
Walls are significantly out of plumb. Consult your builder or installer.
IMPORTANT Take all measurements after tiling and wall finishes have been completed. Measure before placing your order.
STEP 3
CHOOSE YOUR SHOWER SCREEN STYLE
Select the style that best suits your space, lifestyle and design preference.
WALK-IN PANEL
MODERN & OPENBest For
- Large bathrooms
- Contemporary designs
- Open-plan or wet rooms
Avoid If
- Small bathrooms
- Need maximum water containment
Water Containment★★★★★★★★★★
Entry Width★★★★★★★★★★
Easy to Clean★★★★★★★★★★

SLIDING DOOR
PRACTICAL CHOICEBest For
- Small bathrooms
- Ensuites & apartments
- Limited space in front
Avoid If
- Want a frameless look
- Need maximum entry width
Water Containment★★★★★★★★★★
Entry Width★★★★★★★★★★
Easy to Clean★★★★★★★★★★

PIVOT / HINGED DOOR
WIDE & COMFORTABLEBest For
- Mid to large bathrooms
- Premium look
- Wide & comfortable entry
Avoid If
- Very small bathrooms
- Door clearance is limited
Water Containment★★★★★★★★★★
Entry Width★★★★★★★★★★
Easy to Clean★★★★★★★★★★
STEP 4
COMPARE FRAME STYLES
Choose the frame style that matches your design, performance and budget.
| FEATURE | FULL FRAMED | SEMI-FRAMELESS | FRAMELESS |
|---|---|---|---|
| Appearance | ★★★★★★★★★★ | ★★★★★★★★★★ | ★★★★★★★★★★ |
| Water Containment | ★★★★★★★★★★ | ★★★★★★★★★★ | ★★★★★★★★★★ |
| Durability | ★★★★★★★★★★ | ★★★★★★★★★★ | ★★★★★★★★★★ |
| Installation | Easier | Moderate | More Complex |
| Maintenance | Easy | Easy | Requires Care |
| Budget | $ (Most Affordable) | $$ (Mid Range) | $$$ (Premium) |
RECOMMENDED COMBINATIONS
Not sure what's best? Here are our top picks.
SMALL BATHROOM
Sliding Door + Semi-Frameless Shower Base
FAMILY BATHROOM
Pivot Door + Full Framed Tiled Floor
LUXURY BATHROOM
Walk-In Panel + Frameless Tiled Floor
FREQUENTLY ASKED QUESTIONS
What is the difference between frameless and semi-frameless?
Frameless screens use thick toughened glass with minimal hardware for a premium, open look. Semi-frameless screens keep a slim frame around the panel for added support at a lower price point.
What is better, shower base or tiled floor?
A shower base is more cost-effective and faster to install. A tiled floor offers greater design flexibility and a seamless premium finish, but allows fewer low-cost screen options.
How do I measure my shower opening?
Measure the opening width at the top, middle and bottom. Use the smallest of the three values as your opening width, and measure only after tiling is complete.
Can shower screens be installed on existing tiles?
Yes. Most screens can be fitted to existing tiled walls and floors, provided the surfaces are sound and the walls are within an acceptable plumb tolerance.
Which shower screen option prevents water leaks the most?
Full framed sliding doors offer the best water containment thanks to their seals and channels. Walk-in panels contain the least water and suit larger or wet-room style bathrooms.

NEED HELP CHOOSING?
Bring your measurements to our showroom. Our experts will help you find the perfect shower screen.
EXPERT ADVICEFrom our experienced team
MEASURE & CHECKWe check your measurements
SEE IN PERSONView our full range in store
- Choosing a selection results in a full page refresh.